Payment Plans
Offer installment payments at WooCommerce checkout using the Keap payment gateway.
Payment Plans (Payplans)
Payment plans allow you to offer installment payments at WooCommerce checkout. Customers can split their order total into multiple scheduled charges using the Keap credit card payment gateway.
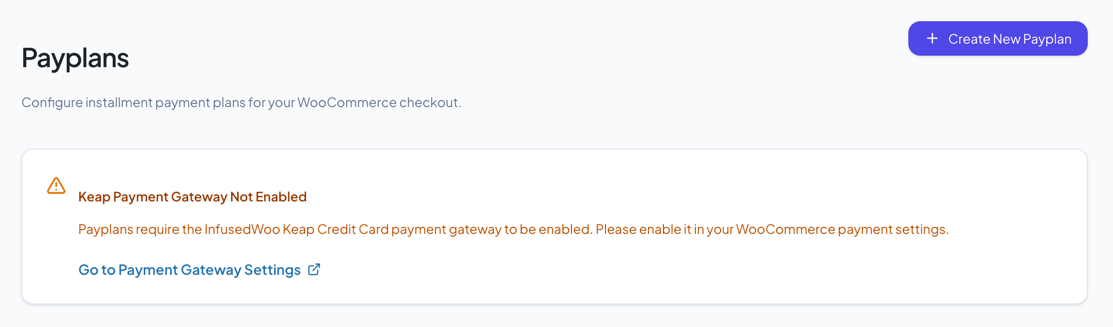
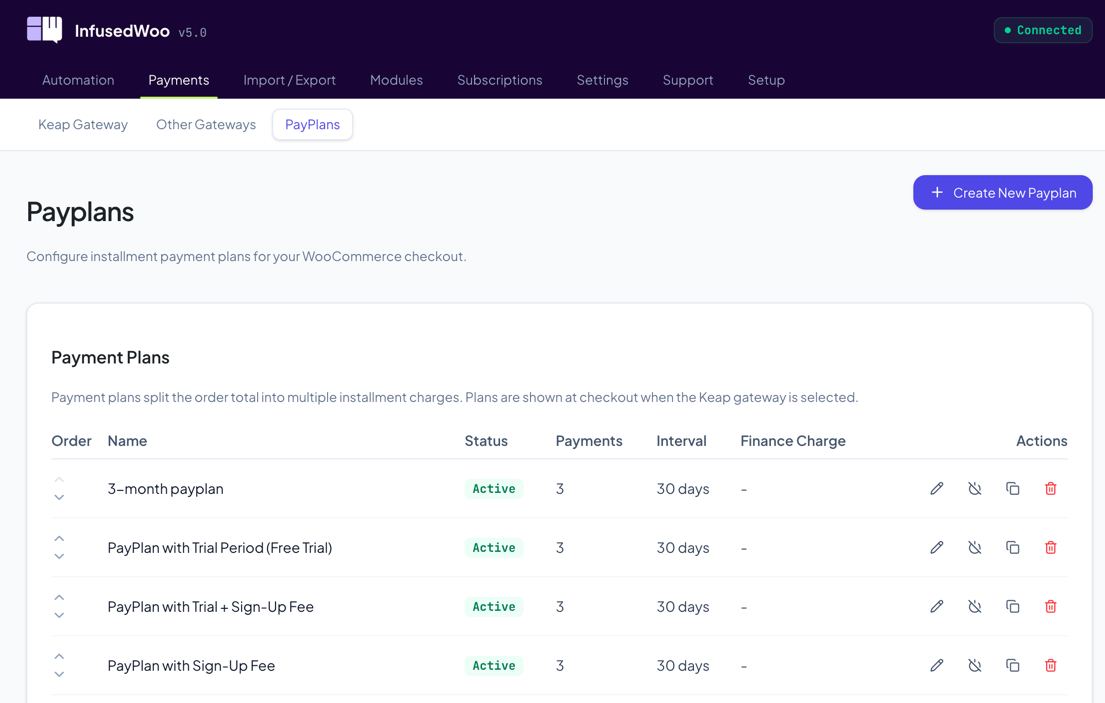
Navigate to InfusedWoo > Payments > Payplans to manage your payment plans.
Requirements
- The InfusedWoo Keap Credit Card payment gateway must be enabled in WooCommerce > Settings > Payments
- Payment plans only work with the Keap gateway — they are not available for other payment methods (PayPal, Stripe, etc.)
If the gateway is not enabled, a warning banner is shown at the top of the page with a link to enable it.
Creating a Payment Plan
- Click Create New Payplan (top-right or center button)
- Fill in the plan settings
- Add conditions if needed (optional)
- Click Save Changes
After saving, you’re redirected to the edit page for your new plan. Each plan has its own URL (/payments/payplans/{id}/edit) so you can bookmark or link directly to it.
Plan Settings
Basic Settings
| Setting | Description |
|---|---|
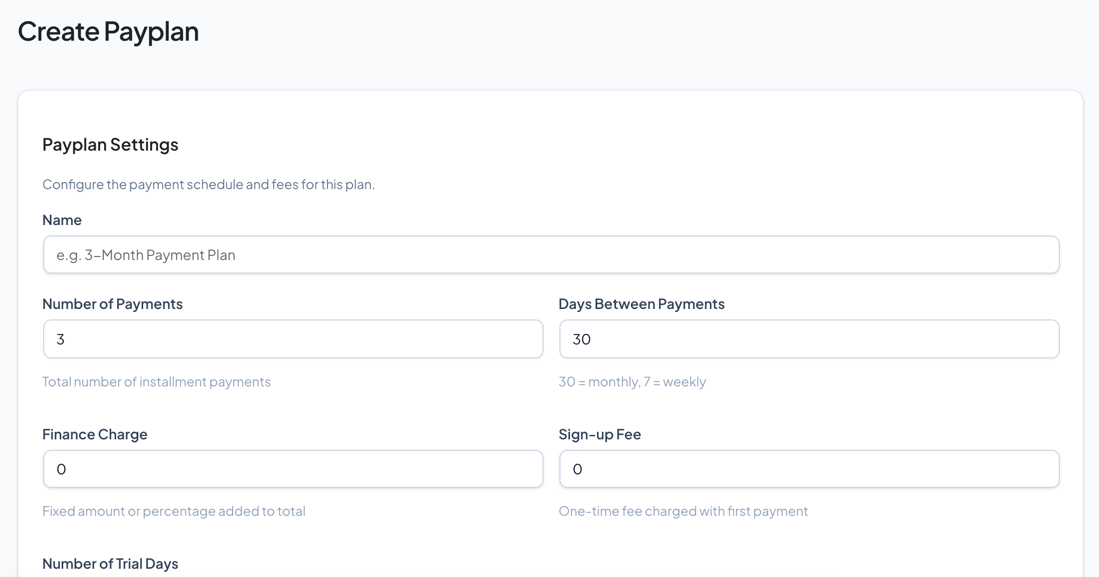
| Name | Internal name for the plan (shown in admin only) |
| Number of Payments | Total number of installment charges (e.g. 3 for a 3-month plan) |
| Days Between Payments | Interval between charges — 30 for monthly, 14 for bi-weekly, 7 for weekly |
| Finance Charge | Additional fee added to the total. Enter a flat amount (e.g. 15) or a percentage (e.g. 10%). Leave as 0 for no charge |
| Sign-Up Fee | One-time fee charged with the first payment. Enter a flat amount or percentage. Leave as 0 for none |
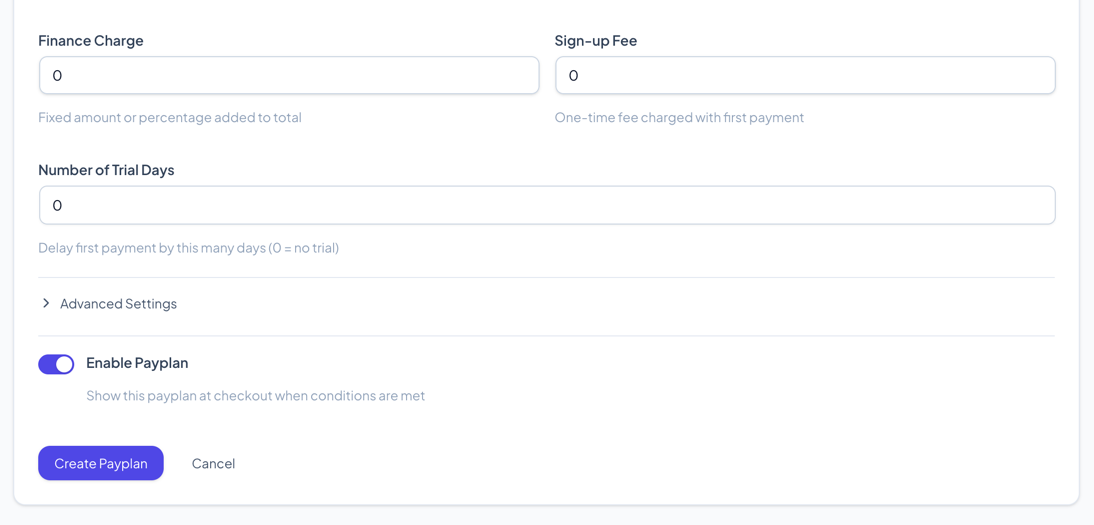
| Trial Days | Number of days before the first payment is charged. Set to 0 for no trial (first payment at checkout) |
Advanced Settings
Click Show Advanced to reveal:
| Setting | Description |
|---|---|
| Display Title | The auto-generated text shown at checkout (e.g. “3 Payments of $33.33”). Uses the [recurring_amount] placeholder |
| Custom Display | Override the auto-generated title with custom text. Supports the [recurring_amount] placeholder |
Enable / Disable
Use the Enable Payplan toggle to control whether this plan appears at checkout. Disabled plans are saved but not shown to customers.
Conditions
Conditions control when a payment plan appears at checkout. Without conditions, an enabled plan is always shown.
How Condition Logic Works
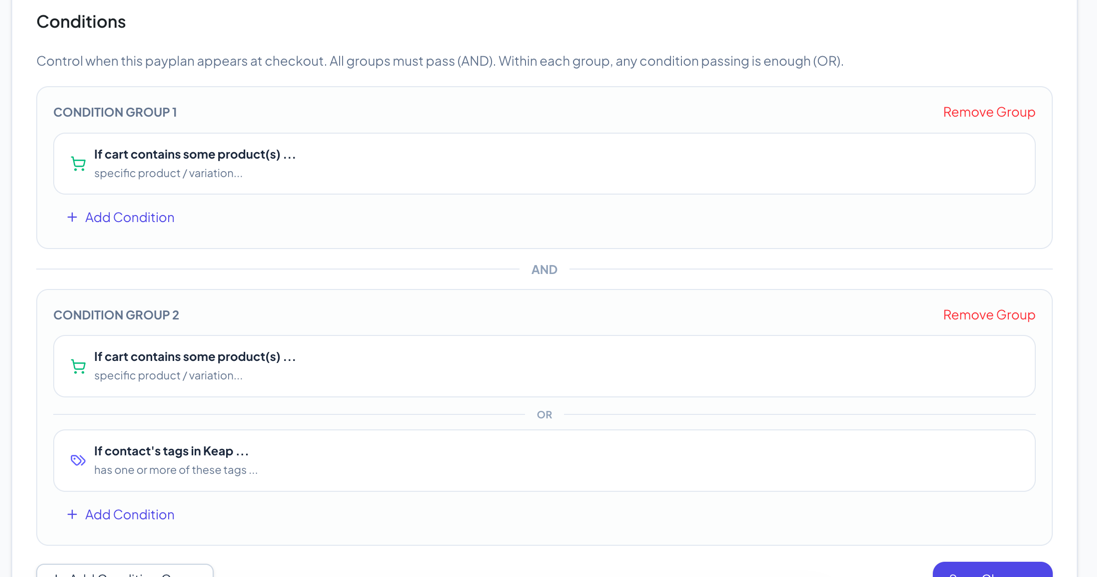
- Between groups: All groups must pass (AND). If any group fails, the plan is hidden.
- Within a group: Any condition passing is enough (OR). If any condition in the group matches, the group passes.
This means you can build logic like: “Show this plan when (cart total > $100) AND (cart contains Product A OR Product B)”.
Available Conditions
| Condition | Description |
|---|---|
| If cart contains some product(s) | Show when specific products are in the cart |
| If cart doesn’t contain some product(s) | Show when specific products are NOT in the cart |
| If Shopping Cart total value is | Compare cart total against an amount (greater/less than) |
| If contact’s tags in Keap | Check if the customer has specific tags in their Keap contact |
| If user is logged-in | Show only to logged-in WordPress users |
| If user is in EU Region | Show based on customer’s detected region |
| If user is not in EU Region | Inverse of above |
| Check Merge Field Value | Check a Keap contact merge field value |
| Check if referral partner exists | Check if the customer was referred by a partner |
| If contact has saved cart | Check if the customer has a previously saved cart |
Adding Conditions
- In the payplan editor, scroll to the Conditions section
- Click Add Condition Group to create a new group
- Inside the group, click Add Condition and select a condition type
- Configure the condition fields
- Add more conditions to the same group (they will be OR’d)
- Add more groups as needed (they will be AND’d)
- Click Save Changes
To remove a condition, click the trash icon on the condition card. To remove an entire group, click Remove Group.
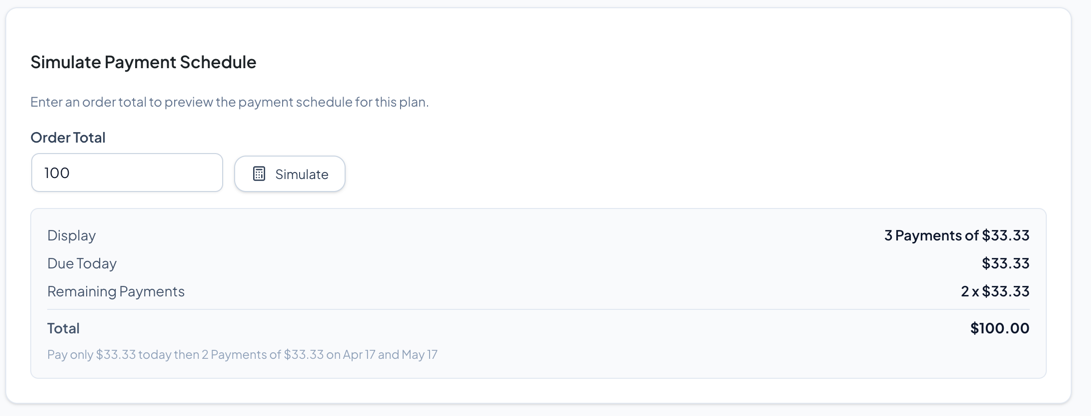
Simulate Payment Schedule
The Simulate section at the bottom of the editor lets you preview the payment schedule for any order total.
- Enter an Order Total amount (e.g. 100)
- Click Simulate
The preview shows:
| Field | Description |
|---|---|
| Display | The text shown at checkout |
| Due Today | Amount charged at checkout |
| Remaining Payments | Number and amount of future charges |
| Finance Charge | Additional fee if configured |
| Total | Full amount including fees |
Below the table, a summary line shows the full schedule in plain text (e.g. “Pay only $33.33 today then 2 Payments of $33.33 on Apr 16 and May 16”).
Managing Payment Plans
Plan List
The list view shows all payment plans with:
- Status badge — Active (green) or Inactive (gray)
- Name — Click to edit
- Payments — Number of installments
- Interval — Days between payments
- Finance Charge — Fee amount if configured
- Actions — Edit, Activate/Deactivate, Clone, Delete
Reordering
Use the up/down arrows on the left side of each row to change the display order. The order determines which plan appears first at checkout when multiple plans are available.
Cloning
Click the Clone icon to create a copy of an existing plan. The cloned plan starts as disabled so you can modify it before enabling.
Deleting
Click the Delete icon and confirm to permanently remove a plan.
Checkout Display
When a customer reaches checkout and selects the Keap credit card gateway:
- All enabled payment plans whose conditions pass are shown as radio options
- The customer can choose “Pay in Full” or select a payment plan
- The selected plan’s schedule is displayed with the first payment amount
- If only one plan is available, it’s shown directly without the radio selection
Trial Period Behavior
When a plan has a trial period:
- No sign-up fee: The customer pays nothing at checkout. The first charge happens after the trial period ends.
- With sign-up fee: Only the sign-up fee is charged at checkout. Installment payments begin after the trial period.
Finance Charge Calculation
- Flat amount: Added to the order total before splitting into payments. E.g. $100 order + $15 finance charge = $115 / 3 = $38.33 per payment.
- Percentage: Calculated as a percentage of the order total. E.g. $100 order + 10% = $110 / 3 = $36.67 per payment.
Tips
- Start simple — Create a basic 3-payment monthly plan first, then add conditions and fees as needed
- Use the simulator — Always test your plan with the Simulate feature before enabling it at checkout
- Name clearly — Use descriptive names like “3 Monthly Payments” or “6-Week Plan with Trial” so they’re easy to identify in the list
- Test conditions — After adding conditions, test the checkout flow to verify the plan appears/hides correctly
- Clone to iterate — Clone an existing plan and modify the copy rather than editing a live plan
Troubleshooting
Payment plan not showing at checkout
- Verify the plan is enabled (Active badge in the list)
- Verify the Keap Credit Card gateway is enabled in WooCommerce Payments settings
- Check if the plan has conditions that might be preventing it from showing (e.g. cart total too low)
- Make sure WooCommerce subscriptions are not in the cart (payplans are disabled when subscriptions are present)
“Critical error” when viewing payplans page
This can happen if a condition class references checkout-specific data during admin page load. This has been fixed — condition evaluation errors are caught and handled gracefully. Update to the latest version.
Finance charge showing as 0
Make sure the finance charge field is not empty — enter 0 to explicitly set no charge, or enter an amount/percentage.