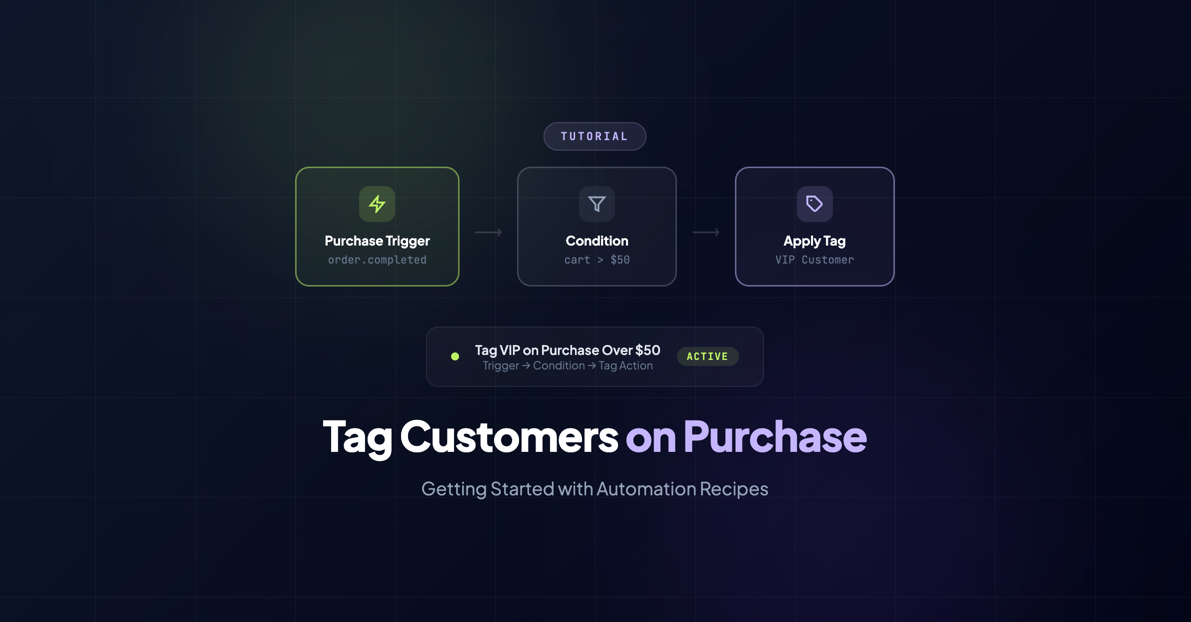
Getting Started with Automation Recipes: Tag Customers on Purchase
If you’ve been syncing your WooCommerce customers to Keap with InfusedWoo, you’ve already got the foundation in place. Contacts flow over, orders sync, and your CRM stays up to date without you doing anything.
But here’s where it gets fun: automation recipes.
Think of recipes as simple “when this happens, do that” rules. They’re not complicated workflows with 47 steps and branching logic — they’re focused, single-purpose automations that you can set up in about two minutes.
Today, we’re building your first one: automatically tagging customers in Keap when they make a purchase.
Why Tags Matter
Before we get into the how, let’s talk about the why. Tags in Keap are like labels you stick on contacts. They’re simple, but they unlock everything else in your marketing.
With tags, you can:
- Segment your email list. Send promotions only to customers who bought a specific product or spent over a certain amount.
- Trigger campaigns. A tag application can kick off an entire email sequence in Keap — welcome series, onboarding, upsell offers.
- Track customer behavior. “Purchased in Q4 2025,” “Bought Product X,” “High-Value Customer” — tags create a breadcrumb trail of what each customer has done.
- Build smart reports. How many customers bought from category A vs. category B? Tags make that a one-click answer.
Without tags, your Keap contacts are just a list of names. With tags, they’re a segmented, actionable audience.
Recipe 1: Tag Every Customer on Purchase
Let’s start with the simplest, most useful recipe: applying a tag to every customer who makes a purchase.
Step 1: Open the Recipe Builder
In your WordPress dashboard, navigate to InfusedWoo > Automation Recipes and click Create New Recipe.
Step 2: Select the Purchase Trigger
Every recipe starts with a trigger — the event that kicks things off. Select Purchase Completed from the trigger list.
This fires whenever a WooCommerce order is marked as completed (payment received, order processed). It doesn’t fire for failed orders, refunds, or pending payments — only successful purchases.
Step 3: Add the “Apply Keap Tag” Action
Click Add Action and choose Apply Keap Tag. You’ll see a dropdown of all your existing Keap tags, plus an option to create a new one.
For this first recipe, create a tag called “WooCommerce Customer” (or whatever naming convention you prefer — some folks use prefixes like “woo_customer” or “Purchase - Any”).
Select your tag and that’s it.
Step 4: Activate
Click Save & Activate. Your recipe is now live.
From this point forward, every customer who completes a purchase on your WooCommerce store will automatically receive that tag in Keap. No manual tagging, no imports, no forgetting.
What can you do with this tag? In Keap, you can now build a campaign that triggers when the “WooCommerce Customer” tag is applied. A common use: a post-purchase email sequence that sends a thank-you email, checks in after delivery, and asks for a review. Set it up once in Keap, and InfusedWoo feeds it automatically.
Recipe 2: Tag High-Value Orders
Now let’s add a condition. Instead of tagging every purchase, we’ll only tag customers whose order exceeds a certain amount — say, $100.
Step 1: Create a New Recipe
Back in InfusedWoo > Automation Recipes, click Create New Recipe.
Step 2: Select the Purchase Trigger
Same as before — choose Purchase Completed.
Step 3: Add a Condition
This is the new part. Click Add Condition and select Order Total. Set the operator to “greater than” and the value to “100.”
Now the recipe will only fire when the completed order’s total exceeds $100. Orders of $99.99 or less? Ignored by this recipe (they’ll still sync to Keap normally — just without this specific tag).
Step 4: Add the Tag Action
Click Add Action, choose Apply Keap Tag, and create or select a tag like “High-Value Order” or “Order Over $100.”
Step 5: Activate
Save and activate. Done.
Why this is useful: In Keap, you can now treat high-value customers differently. Maybe they get a personal thank-you email from you (not a template — an actual personal note). Maybe they get early access to sales. Maybe they get a follow-up call from your team. The tag makes it possible to automate the trigger while keeping the response personal.
Bonus: Tag by Product Category
Here’s a third recipe that’s incredibly powerful for stores with diverse product lines.
Let’s say you sell both supplements and fitness equipment. A customer who buys protein powder has very different interests than someone who buys a set of dumbbells. Tagging by product category lets you market to each group with relevant content instead of blasting everyone with the same emails.
The Setup
- Trigger: Purchase Completed
- Condition: Product Category equals “Supplements”
- Action: Apply Keap Tag “Interest - Supplements”
Create a second recipe for the other category:
- Trigger: Purchase Completed
- Condition: Product Category equals “Equipment”
- Action: Apply Keap Tag “Interest - Equipment”
Now when someone buys from either category, they get tagged appropriately. If they buy from both? They get both tags. Your Keap campaigns can then target each interest group with tailored content, product recommendations, and promotions.
Tips for Tag Organization
As you build more recipes, your tag list in Keap can grow fast. A few tips to keep things manageable:
Use a consistent naming convention. We recommend a prefix system:
Purchase - [detail]for purchase-based tagsInterest - [topic]for interest/category tagsStatus - [status]for lifecycle tags (Active, VIP, Lapsed)Campaign - [name]for campaign-specific tags
Don’t over-tag. It’s tempting to create a tag for every possible scenario. Resist. Start with 5-10 tags that map to actions you’ll actually take. You can always add more later.
Document your tags. Keep a simple list (even a Google Doc) of what each tag means and which recipe or campaign applies it. Future-you will be grateful.
What’s Next
You’ve just built your first automation recipes. That might feel small, but you’ve crossed an important threshold: your WooCommerce store is now actively feeding your CRM with actionable data, without any manual work from you.
From here, the possibilities expand quickly:
- Build Keap campaigns that trigger on your new tags — email sequences, task assignments, pipeline stages
- Layer conditions to create more specific segments — high-value customers in a specific category, repeat buyers of a certain product, first-time customers who spent over $200
- Explore more triggers beyond purchases — subscription renewals, refunds, specific product purchases
Check out our full automation documentation for the complete list of available triggers, conditions, and actions. And for more recipe ideas with step-by-step instructions, visit our automation examples page.
Want to see what else InfusedWoo can automate? Browse all automation recipes or start your free trial to build your own.